Preparation
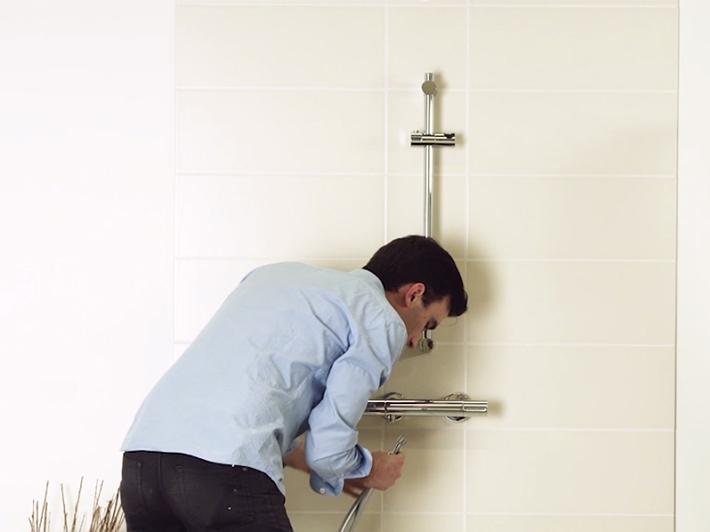
1 - Place the rail at an appropriate height for the entire family, and mark the tile intersections closest to the ends.
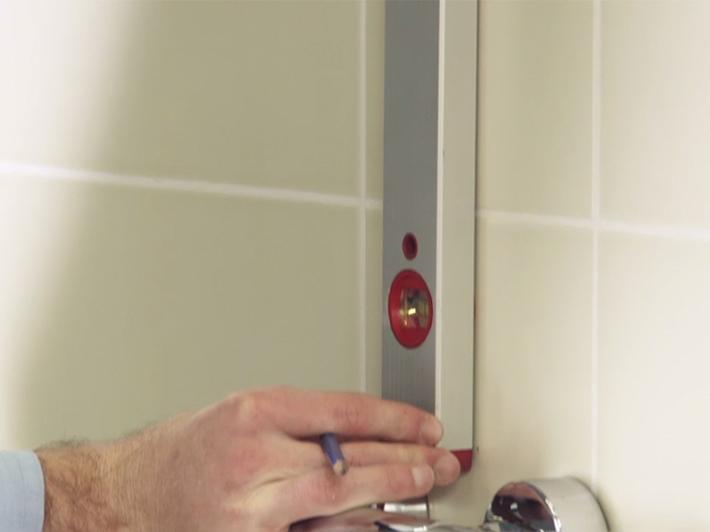
2 - To center the shower rail, mark the center of your mixer unit. Using a spirit level, extend your marks.
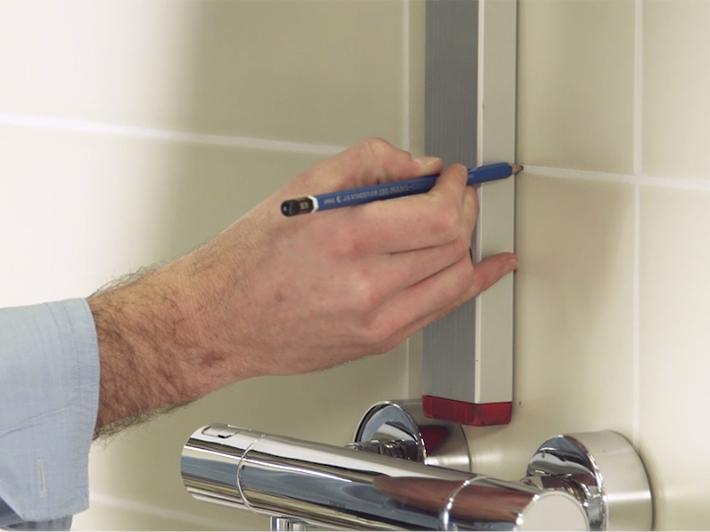
3 - Use a pencil to mark the intersections of the tiles that are closest to the bar's holders, while checking vertical alignment.
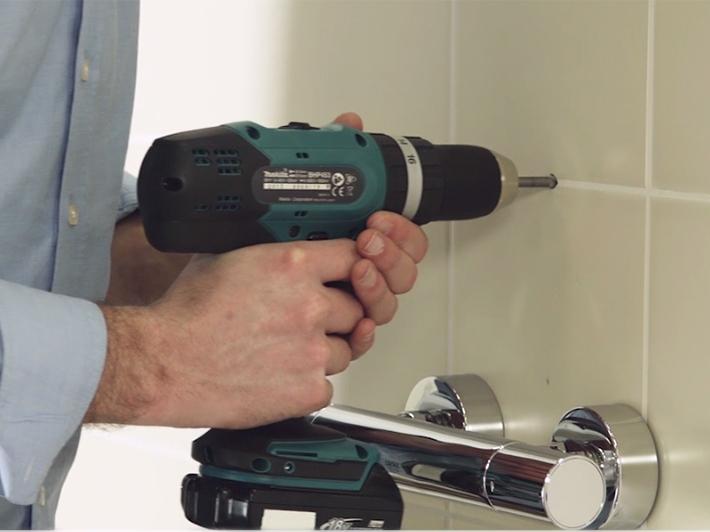
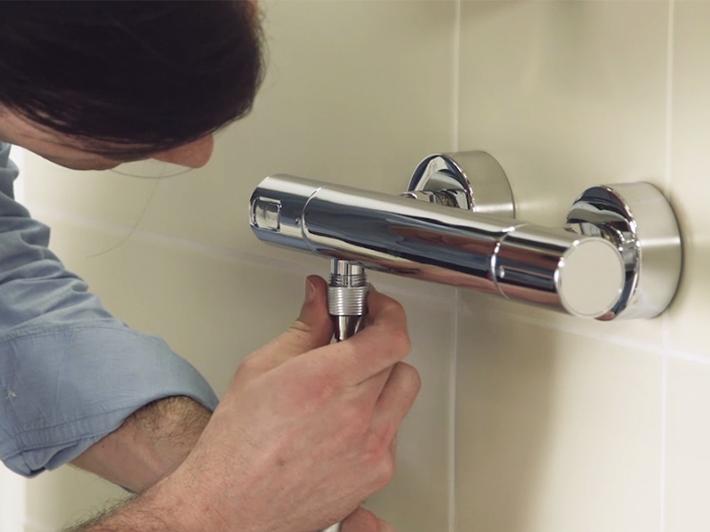
4 - Fit your drill with a 8 mm drill bit appropriate for the wall type. Drill the holes and fill them with silicon, then insert the provided anchors.
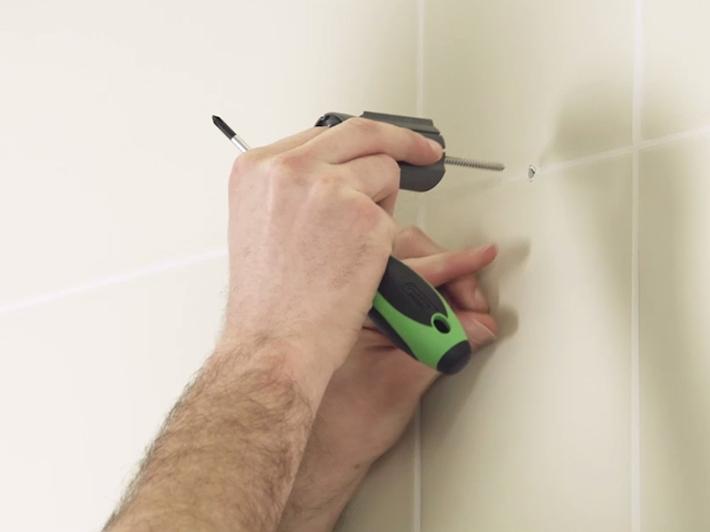
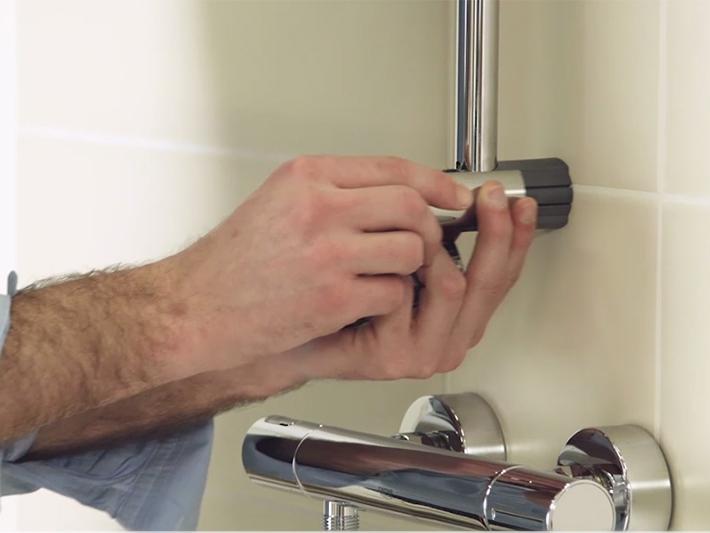
5 - Attach the dark grey plastic holder for the top shower bracket onto the wall.
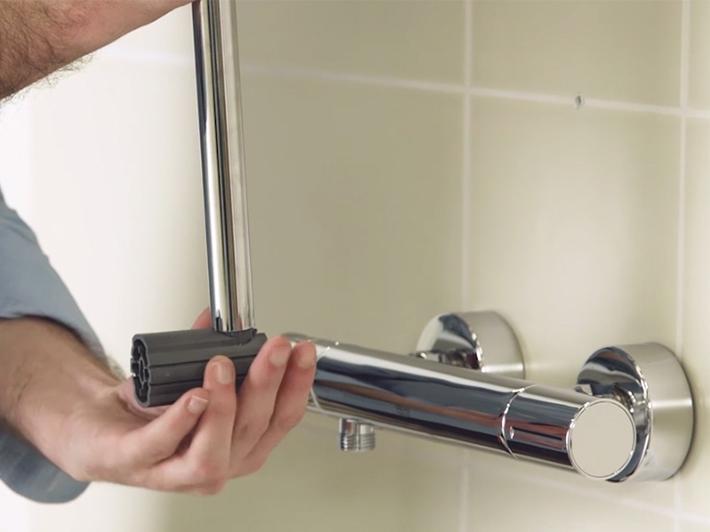
6 - Insert the other grey plastic holder in to the bottom of the shower rail, then position the eye of the shower rail facing the guide on the dark gray plastic holder.
7 - Slide the shower rail into the dark gray plastic holder fitted to the wall so that the shower bracket cursor is on the right.
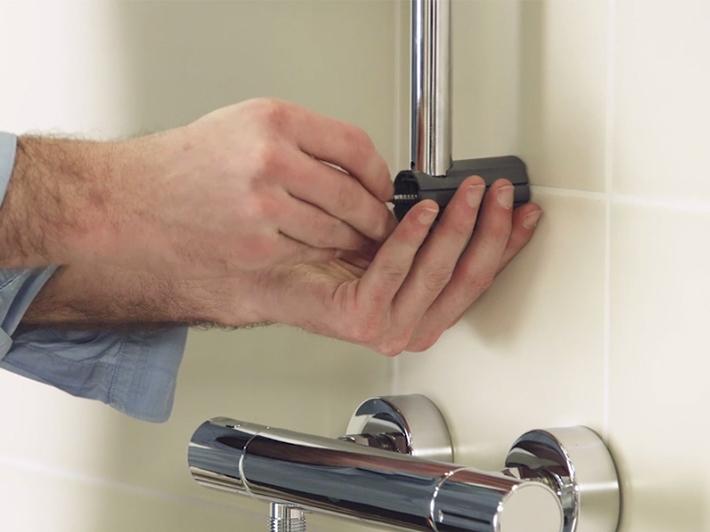
8 - Attach the dark gray plastic holder to the wall.
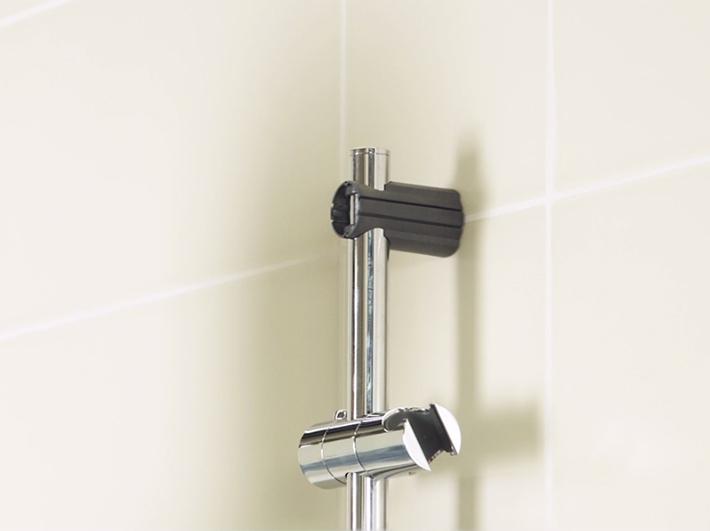
9 - Slide the lower and upper covers over both dark grey plastic holders, aligning the slots of both elements.